Public twitter timeline is a global online social network that allows users to communicate by sending a short content 140 character messages that post people called "tweets". The user can register twitter by free of charge from twitter official site and all those users tweet everything new about their business, personal and social to make the interesting from other users and follow their twitter profile. Moreover, if you have a website or blog you can generate your twitter tweet timeline code and add it to display on your blog widget sidebar. This tutorial will help to do this thing.
Add Twitter Timeline to Blog
Step 2: Click on your twitter profile picture and then click on the Setting link.

Step 3: In the account setting, there is a function menu call Widgets, just click on it.

Step 4: Now click on the Create New button to start configuration and get twitter widget.

Step 5: Now Start to configure the Twitter Timeline Widget. In configuring function, there are two difference things that I would like to recommend you to tick them all.
Height: It would be set up by a number that you need.
Theme: There is two difference themes color (light and dark), choose one that fit your template color.
Link Color: Choose a color that you think the good design for every links or URL.

Step 6: Now after you configured all above functions, click on "Create widget" button and then you will get the code that allows you to add in the HTML code area on your blog. Now select it all and copy it.

Step 7: Go to your blog and log in it; then clicks on "Layout" link.
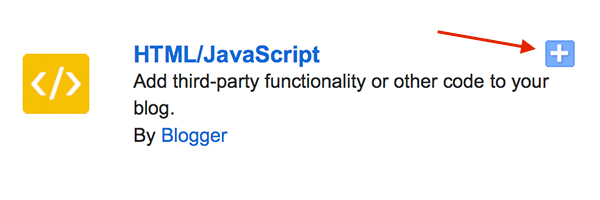
Step 8: Click on "Add a Gadget", find the HTML/JavaScribe and click on [+] button

Step 9: Now time to paste the code that you copied twitter and paste it in HTML Text area and then click on "Save" button.
Now you can enjoy it and view your twitter timeline on your blog. Every new tweet will automatically show in the timeline that placed on a sidebar.

