
What is Google Analytics?
A popular tool to check and automatic analysis to your blog or website traffic, this tool is provided by Google and named it "Google Analytics". Most of the blog owner are using it to check every visitors are coming from and a number of your daily, weekly and monthly visitors come through your blog.What is Google Analytics? It Is a freemium website or blogs analytic tool that created Google that allows to tracking and makes all report of blog traffic to the web or blog owner. The tools were launched in November 2005 after acquiring Urchin. Now the google analytics are very popular using worldwide on the internet.
However, if you have a website or blog and you would like to add google analytics to analyze your website, if you think it is helpful for your, then follow this guideline and learn how to register and add it to your blog.
Step 1: You need to go to Google Analytics Login website.
Step 2:Click on
Sign In link which located on the top of right side then click on Google Analytics.Step 3: In this section, you need to use a Gmail account to login and then Click
Sign in Button.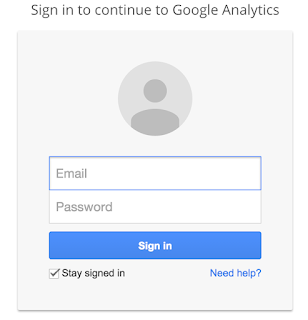
Step 4: To register Google Analytics and to Tracking, the code the add to your website, Click on
Sign Up bottom.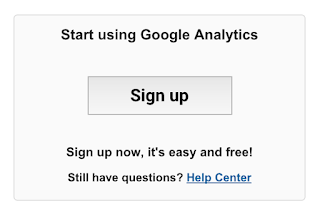
Now please follow this below instruction to register for Google Analytics.
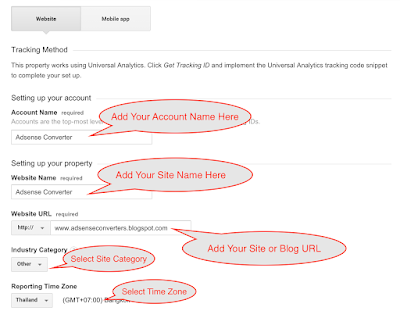
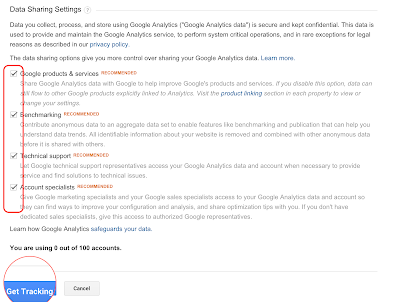
Now after you completed the registration, you will get another pop-up Term of Services Agreement, then just click on
I Accept Bottom.Step 5: Now after you accept the service conditions of Google Analytics, you will get the Code that allows you to add to your website or blog. Now, it is time to add that code to your blog.

Step 6: To add the Google Analytic code to your blog, please log in your Blog
Step 7: Now go to
Template then click on Edit HTML.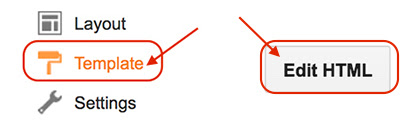
Step 8: To add the code to the right position, you need to search for
</body> by press CTRL + F or Command + F (Mac) then place this below code to the search column, then press Enter.Step 9: When you found the
</body> tag, then paste your Google Analytics Code above it and press Save Template to save everything you did.As we know that Google Analytics is a very important tool to analyze our website traffic but the default or standard dashboard is limited report to us. So I have recreated another post that explained How to Add Google Analytics Private Dashboard that can make the unlimited report.
